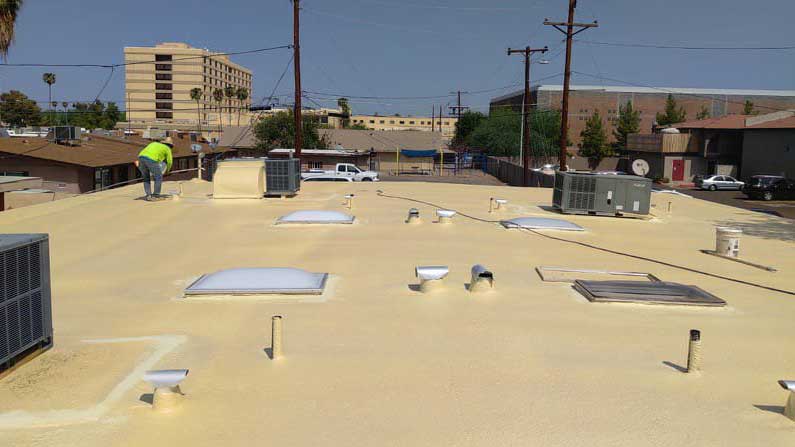
You Earn a Lifelong Guarantee with Your New Foam Roof
There are several types of roof coating systems and rubberizied coating systems – The four most common are Acrylic, Silicone, Foam, and Thermoplastic. Each has advantages and disadvantages, and some are a better fit for one kind of roof versus another. We are currently building this page to have a wealth of information for you. For the time being we will be talking about the #1 roof coating that we provide which is Spray Foam Polyurethane.
Because foam roof coatings are applied to flat roofs it can be applied to both residential or commercial properties.
What is a Polyurethane Foam Spray Roof?
Spray-on polyurethane foam (SPF) is a multi-component material created by mixing isocyanates (A) and polyols (B) together under heat and pressure.
Although spray foam has been used for some time, it is still relatively unfamiliar to most building managers and property owners. Foam roof coating can be one of the best investments you make for your home or business.
Call 623-257-ROOF (7663) and let us get rid of your old polyurethane roof and replace it with a new polyurethane roof.

Modern sprayed polyurethane foam roofing materials are available in both open-cell and closed-cell grades. Closed-cell foam is mostly used for commercial roofing applications, whereas open-cell foam is generally used for internal insulation and sound proofing. To make sure that you get a successful application, it is critical that you get the right heat and pressure in your mix. As the foam cures, it hardens, creating a strong, seamless, lightweight, waterproof membrane.
Call 623-257-ROOF (7663) and get a free estimate
What Does a Roof Replacement Look Like?
Step 1: Preparation
Our generators create a bit of noise, and vibrations that may disturb things like ceiling fixtures or items hanging from walls. Please remove or temporarily secure those items.
Step 2: Delivery
Roofing shingles or tiles and underlayment materials are delivered approximately two days prior to a project.. These materials are generally stored at the homeowner’s property (usually in front of the house, on the sidewalk). Some material must be stored in the parking garage or surrounding area – it all depends on the location of the job.
In a situation like this, you must secure a space to hold the materials, and let us know where that is.
Roofing materials are heavy and take up space. Make sure that that the storage area is off limits, or there is enough space. The storage area should not be in a highly congested area, so that we are not interrupting day-to-day operations.
Step 3: Installation
In a situation like this, you must secure a space to hold the materials, and let us know where that is.
Roofing materials are heavy and take up space. Make sure that that the storage area is off limits, or there is enough space. The storage area should not be in a highly congested area, so that we are not interrupting day-to-day operations.
Step 4: Cleanup
Step 5: Peace of Mind
Please be aware this is totally normal. Sit back and relax, knowing that with your new or repaired roof, your home is now safer and secure. We want to be fully transparent and make sure that throughout our time together, you are comfortable and informed.

